When you receive the sensors, all of them will be placed in one project group. For better overview and to compare sensor readings easily, we recommend you to divide the sensors into different subgroups. You can choose your own structure. You can, for example, divide sensors into different buildings, different floors or areas such as Facades, Roof, Basement, Wet Rooms. It can be beneficial to divide the subgroups based on the blueprints you want to upload.
Watch video here, or keep reading text below:
To create a subgroup use one of the following methods:
Option 1
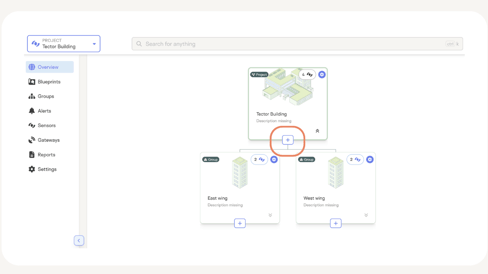
- Go to the Group Hierarchy in the group overview
- Press the + icon to create a subgroup
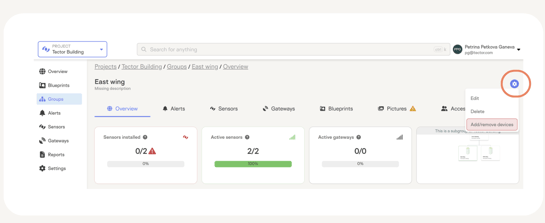
- Click on the newly created subgroup and press on the Settings tab
- Press the Add/remove devices
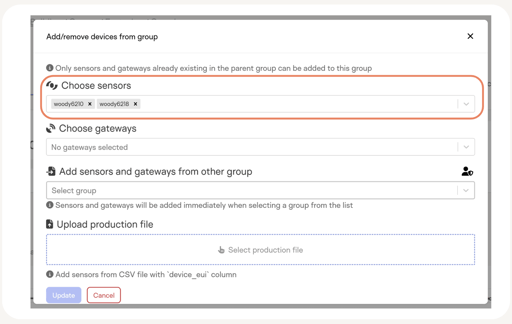
- Fill out the IDs of the sensors you want to add and press Update
Option 2
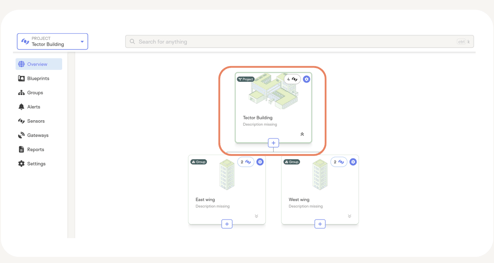
- Navigate to your main project group in the Group Hierarchy

- Go to the Sensors tab
- Check the checkboxes of the desired sensors in the list view
- Press the +Create subgroup button

- You will automatically be transferred to the newly created subgroup
- From there click on the subgroup title and change it to the desired name